The story continued, even if I haven’t been timely in reporting it. There’s already a new project going on out back, but I need to finish talking about the last one first with a couple of “before and after” posts.
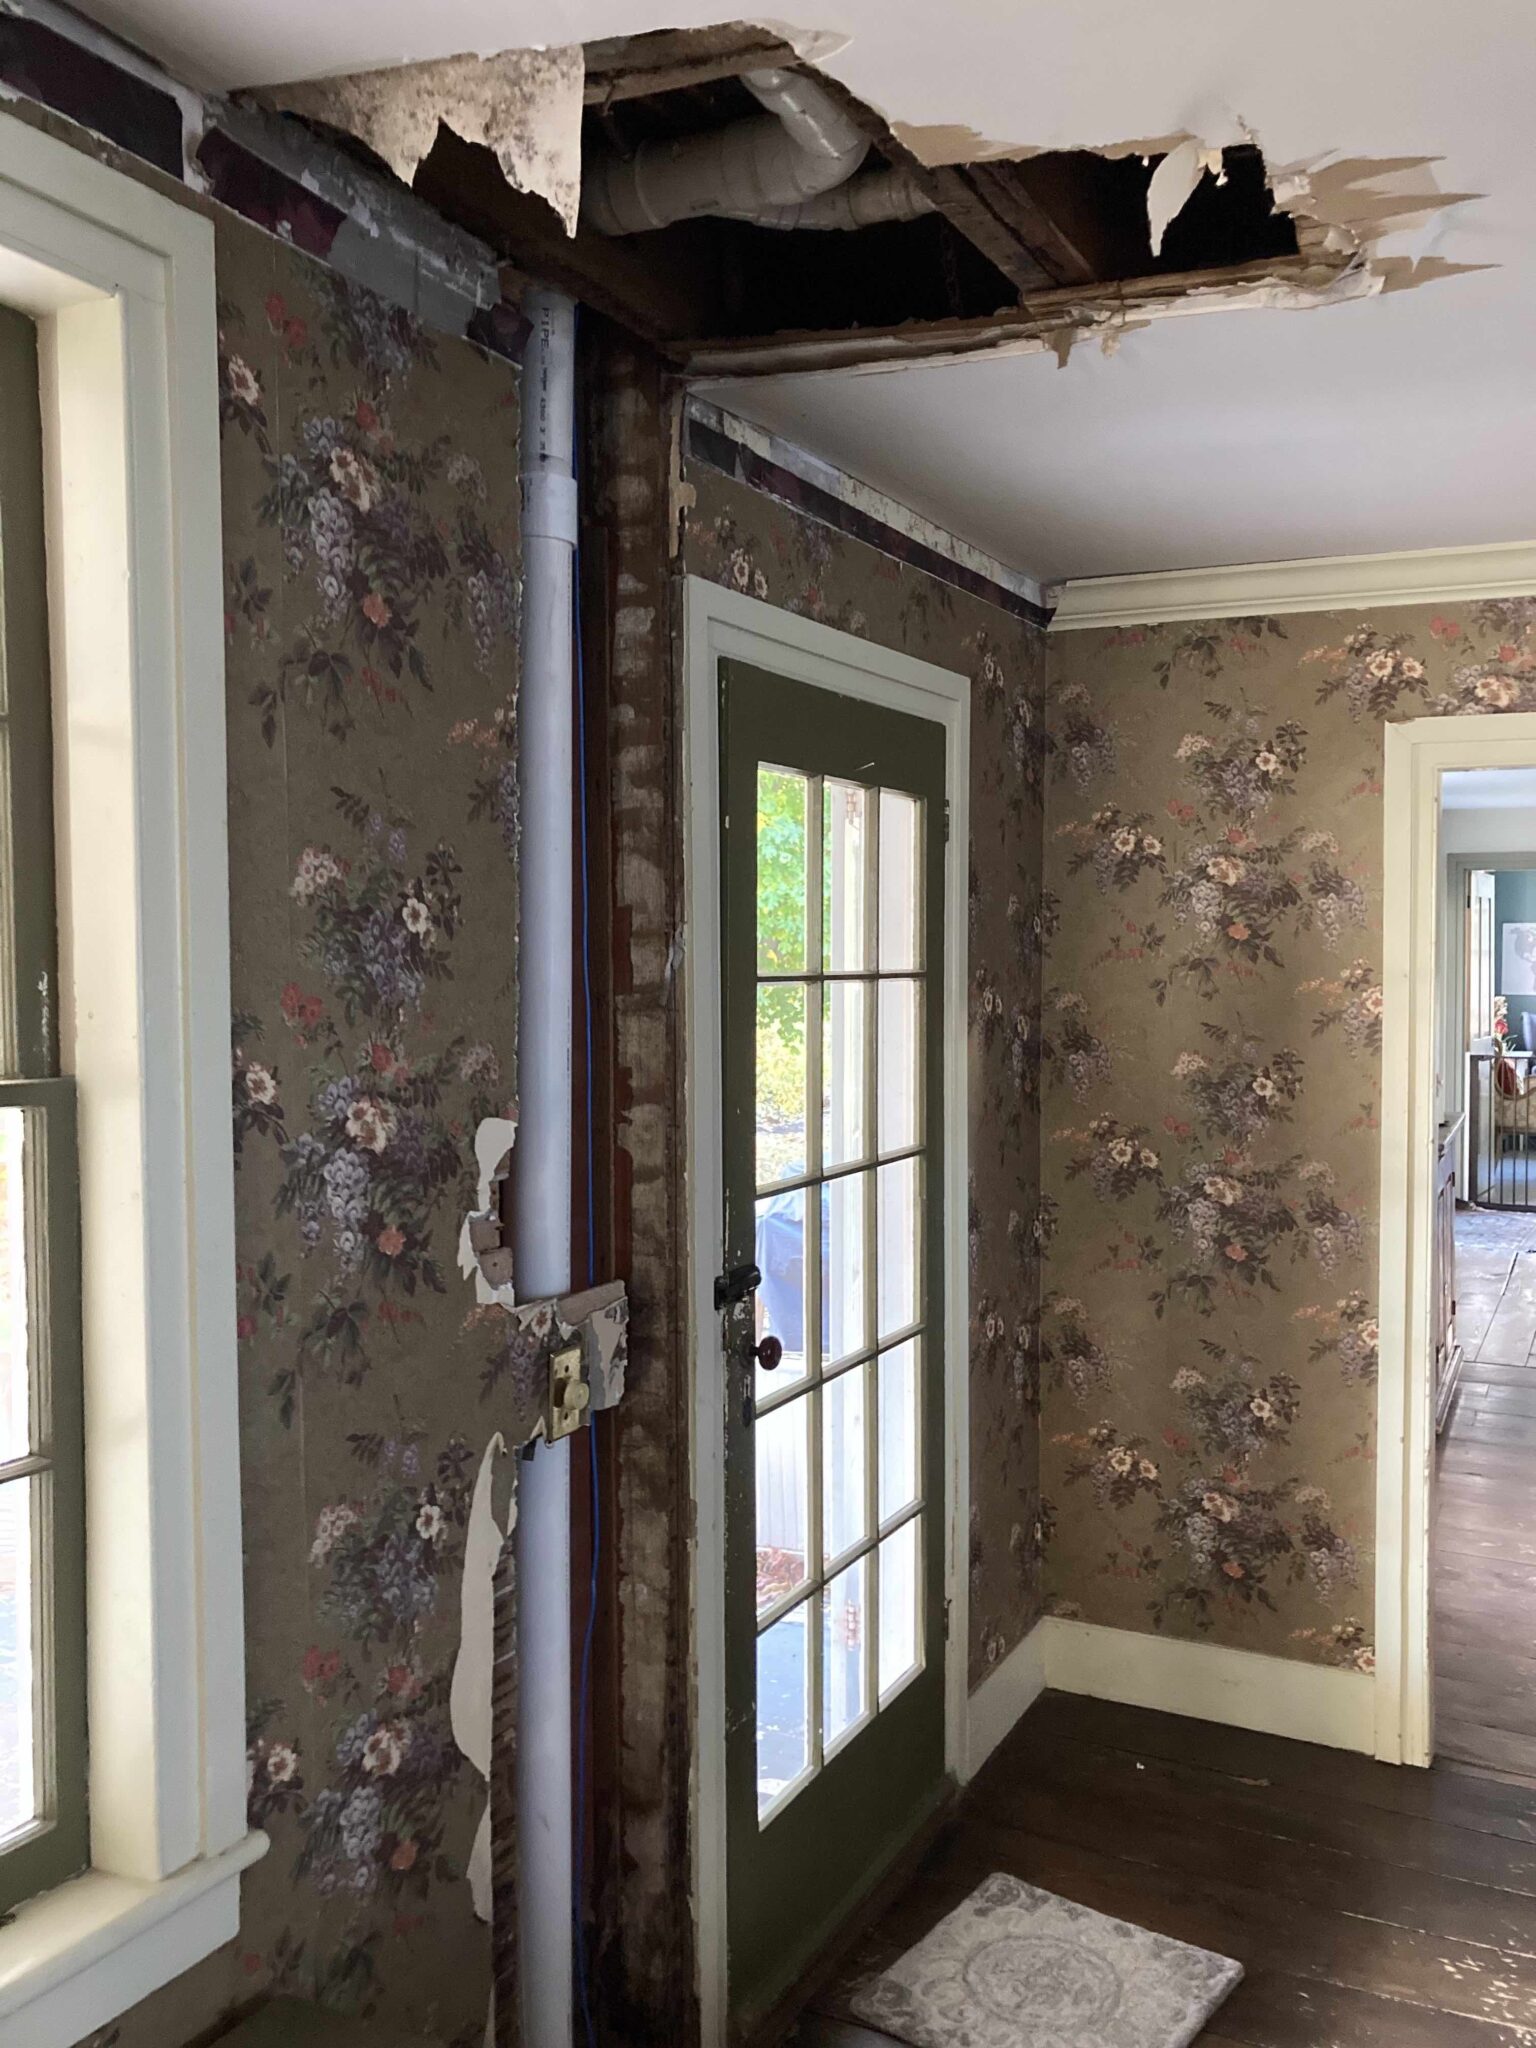
This one covers the dining room, which is where the project started. Before we began, the plumbing repair of our first year (Week 7 – Leak 7) was still exposed, the slanted ceiling was of some concern, and the floor was always cold in the winter. The floor of the dining room also had a slope to it, and we knew that there was at least a cat-sized hole from the crawl space to the outside, since our daughter’s cat had on more than one occasion managed to work his way outside from the basement under the cobblestone section. That explained the cold winter drafts and where a cat could get out, we assumed other critters would have no trouble getting in.
The dining room is the northernmost end of the wooden part of the house, abutted against the southern, back wall of the cobblestone. They were not attached other than some trim work, just sitting next to each other.
Above the dining room, under the hardwood floor, there was more evidence of an old stairway along what is now the west wall of the dining room, but not much else that would provide clues to the original layout upstairs before the addition of the bathroom and the plumbing that led to this whole project.
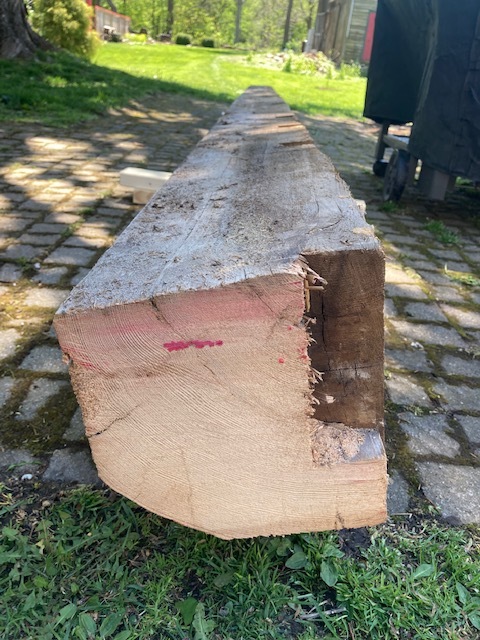
From the earlier post (Everything must go), we saw that the ceiling joists were split and the beam supporting them was compromised to the point of twisting. Not being sound enough to attach new joists, the beam was removed and replaced with a laminated beam and laminated floor joists across the span of the dining room. Where the never-used tub was to be returned above, additional reinforcement was added.
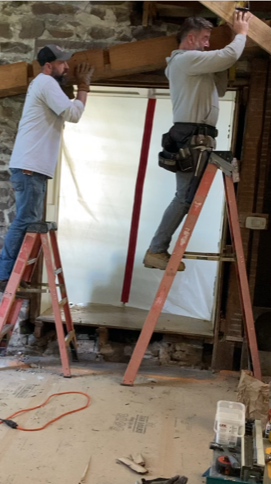
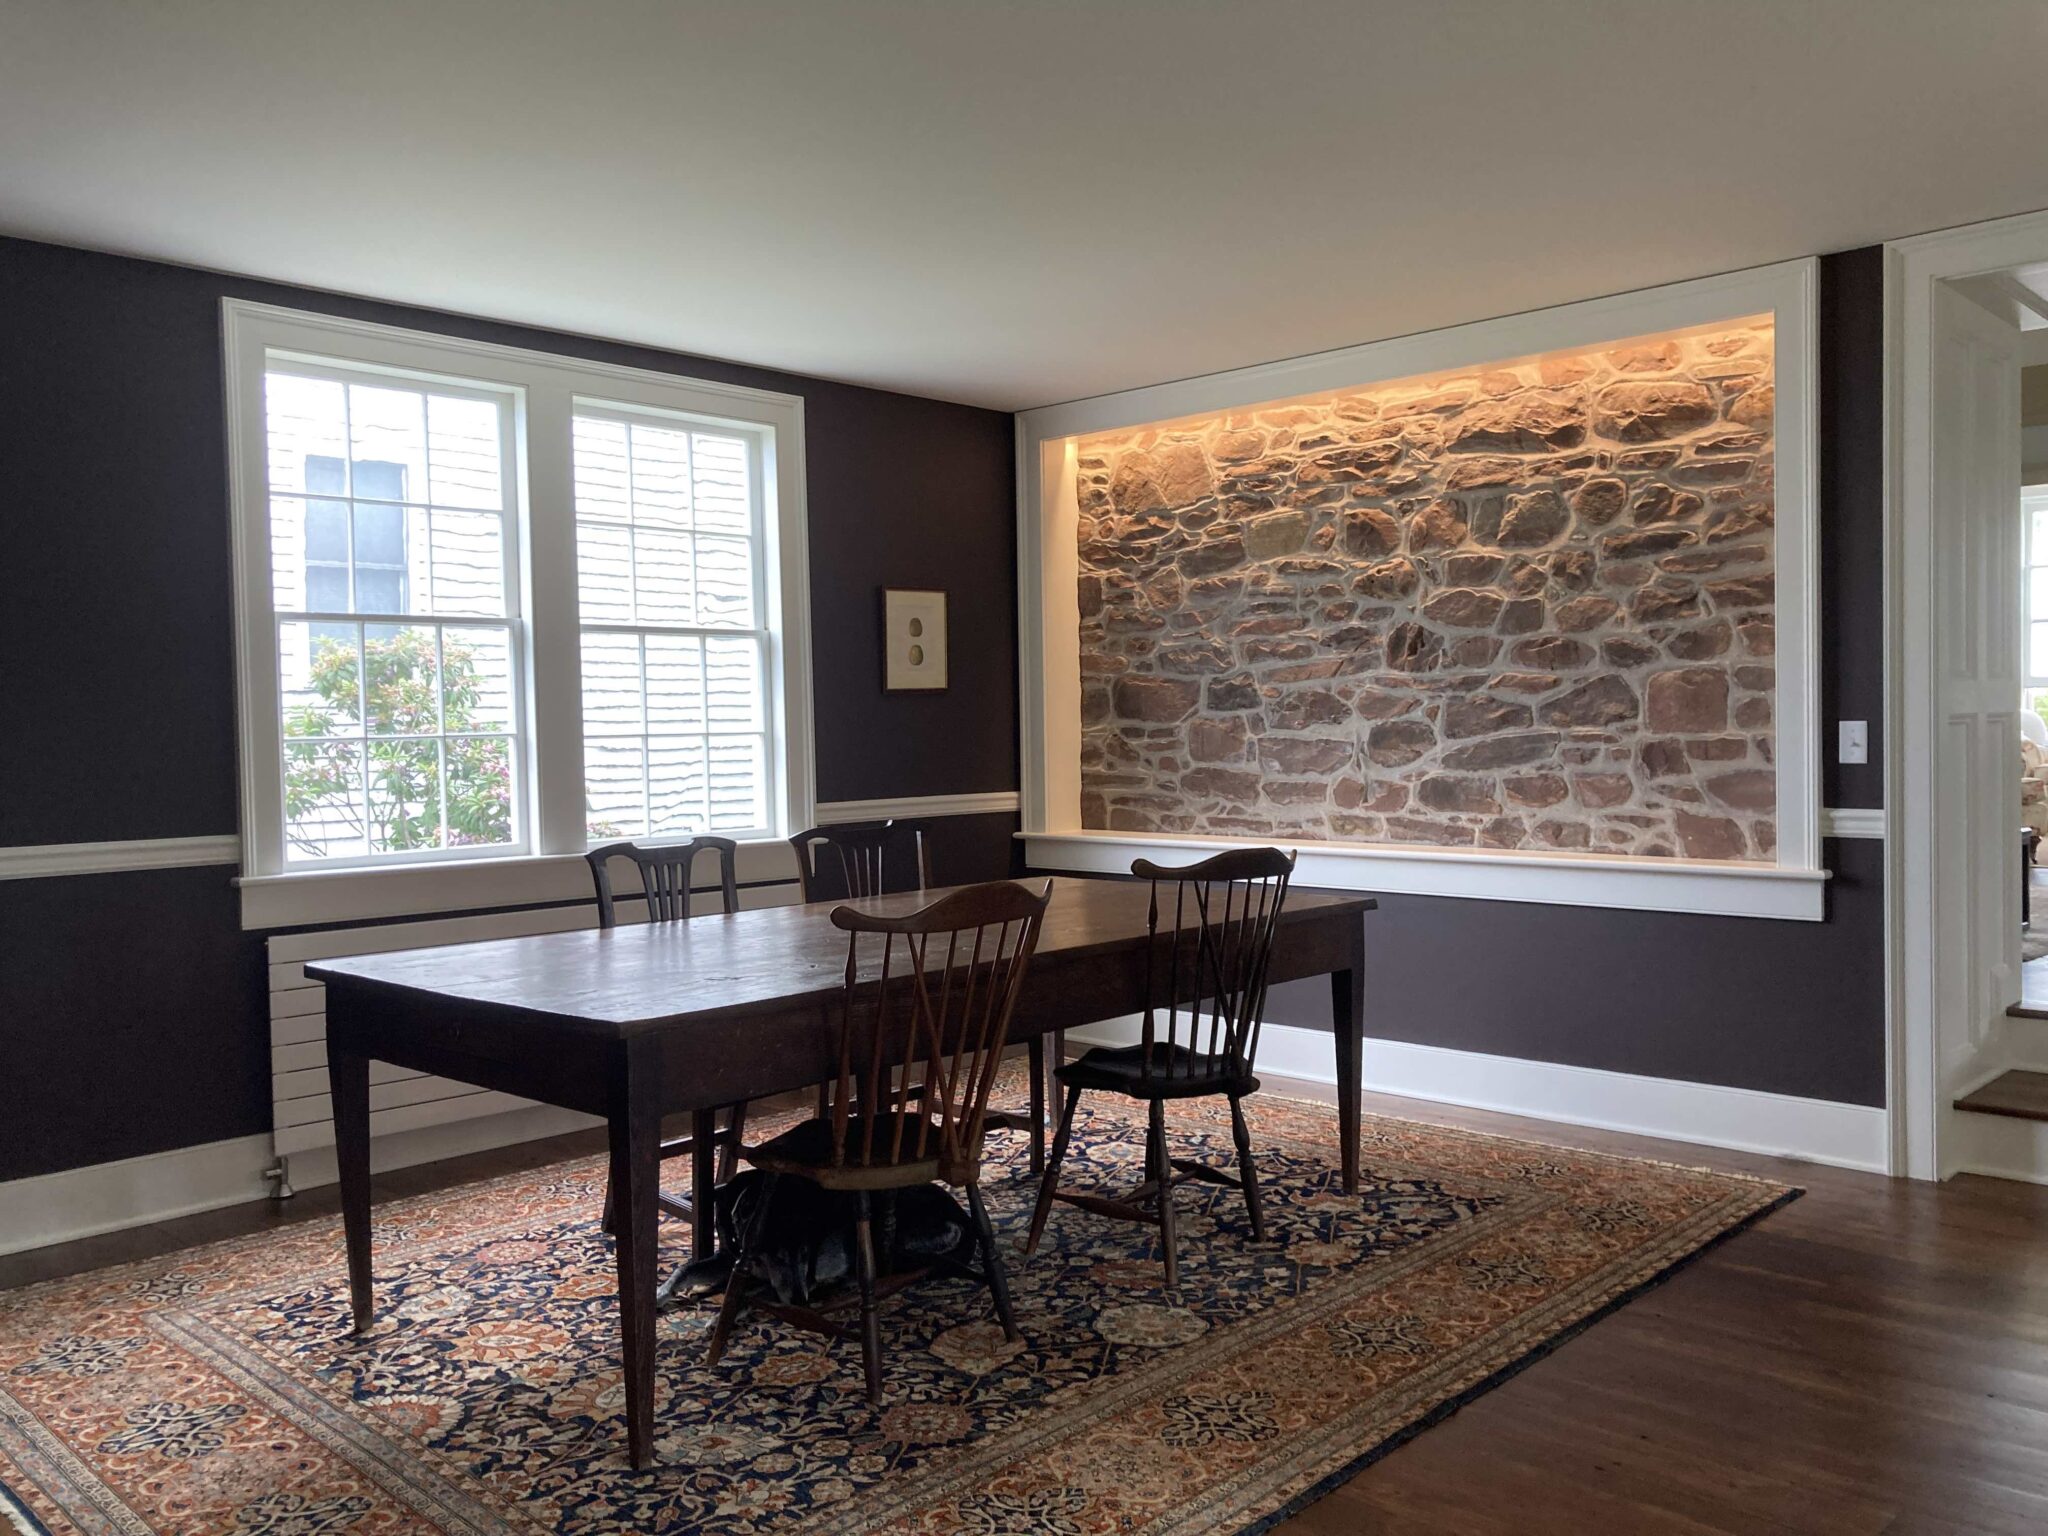
The other reason for a new laminated beam was to eliminate the need for supporting posts along the north wall. That allowed us to leave the back wall of the cobblestone exposed. The front of a cobblestone usually has thin, neat rows of stones; the side has rows of slightly larger stones, and the back is simple fieldstone. Ours is no different, but even the back has a nice look:
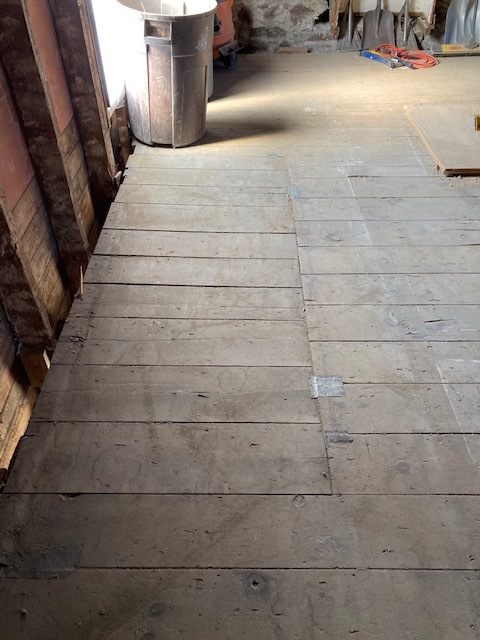
The original floor boards of the dining room had been carefully removed, and with a few similar boards from upstairs, there were enough to be repaired and reused for the dining room floor. The preparation, though, included standardizing the random widths and adding a new tongue and groove to each board.
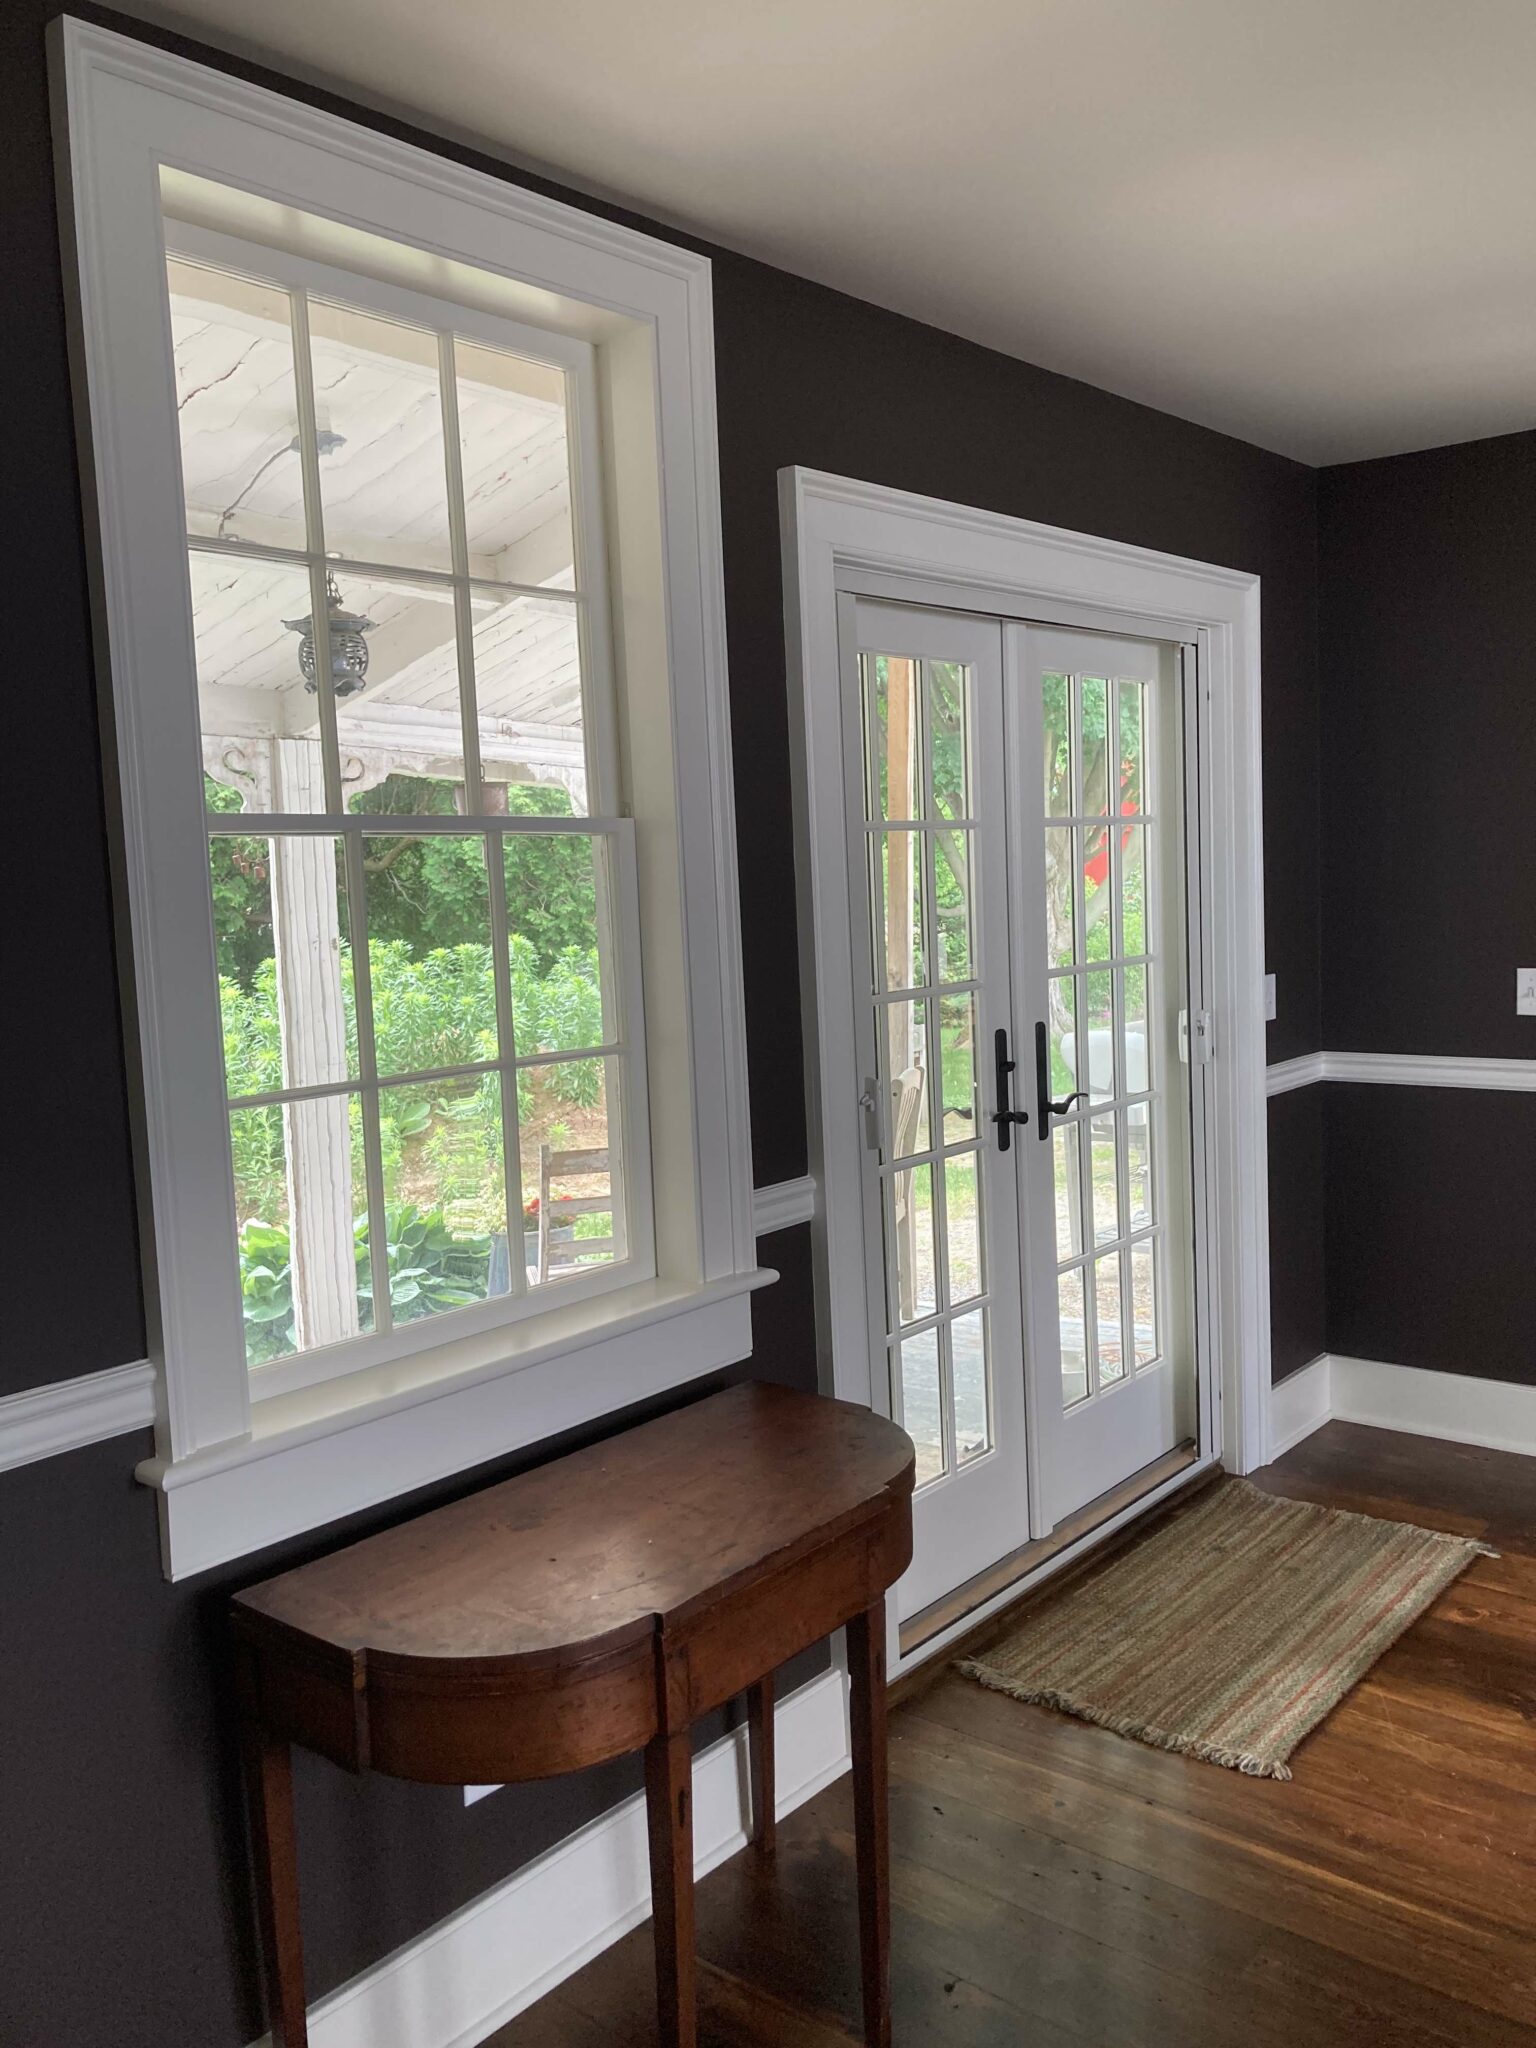
So, back to the plumbing before and afters:
In the next post: why we had extra floor boards from the upstairs…