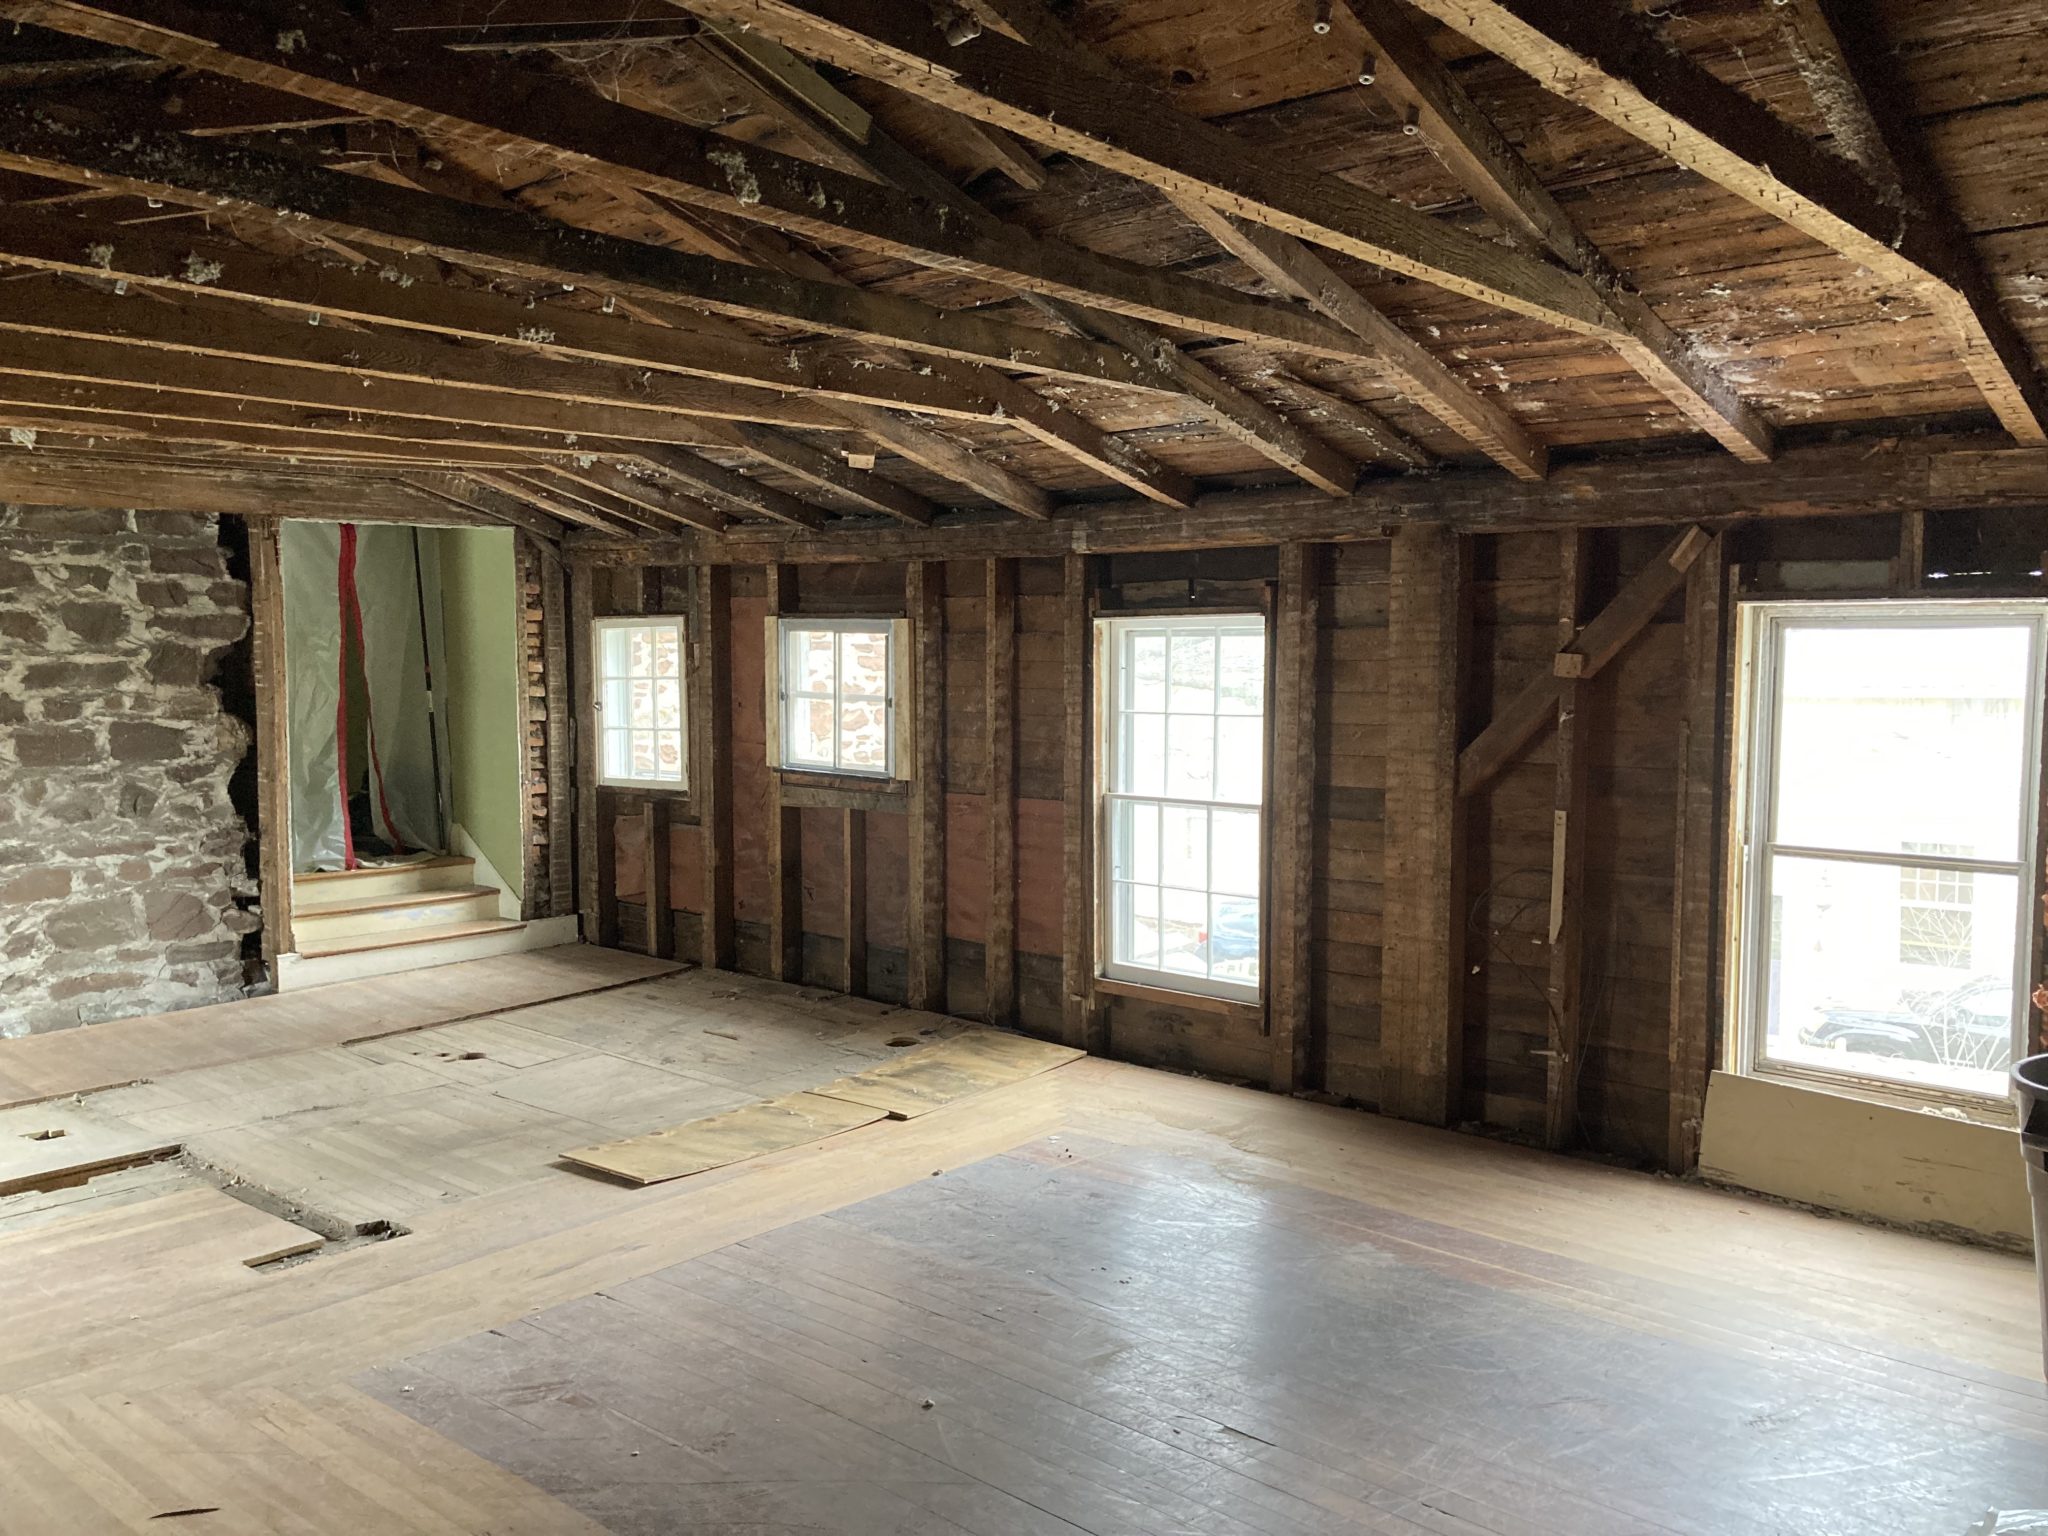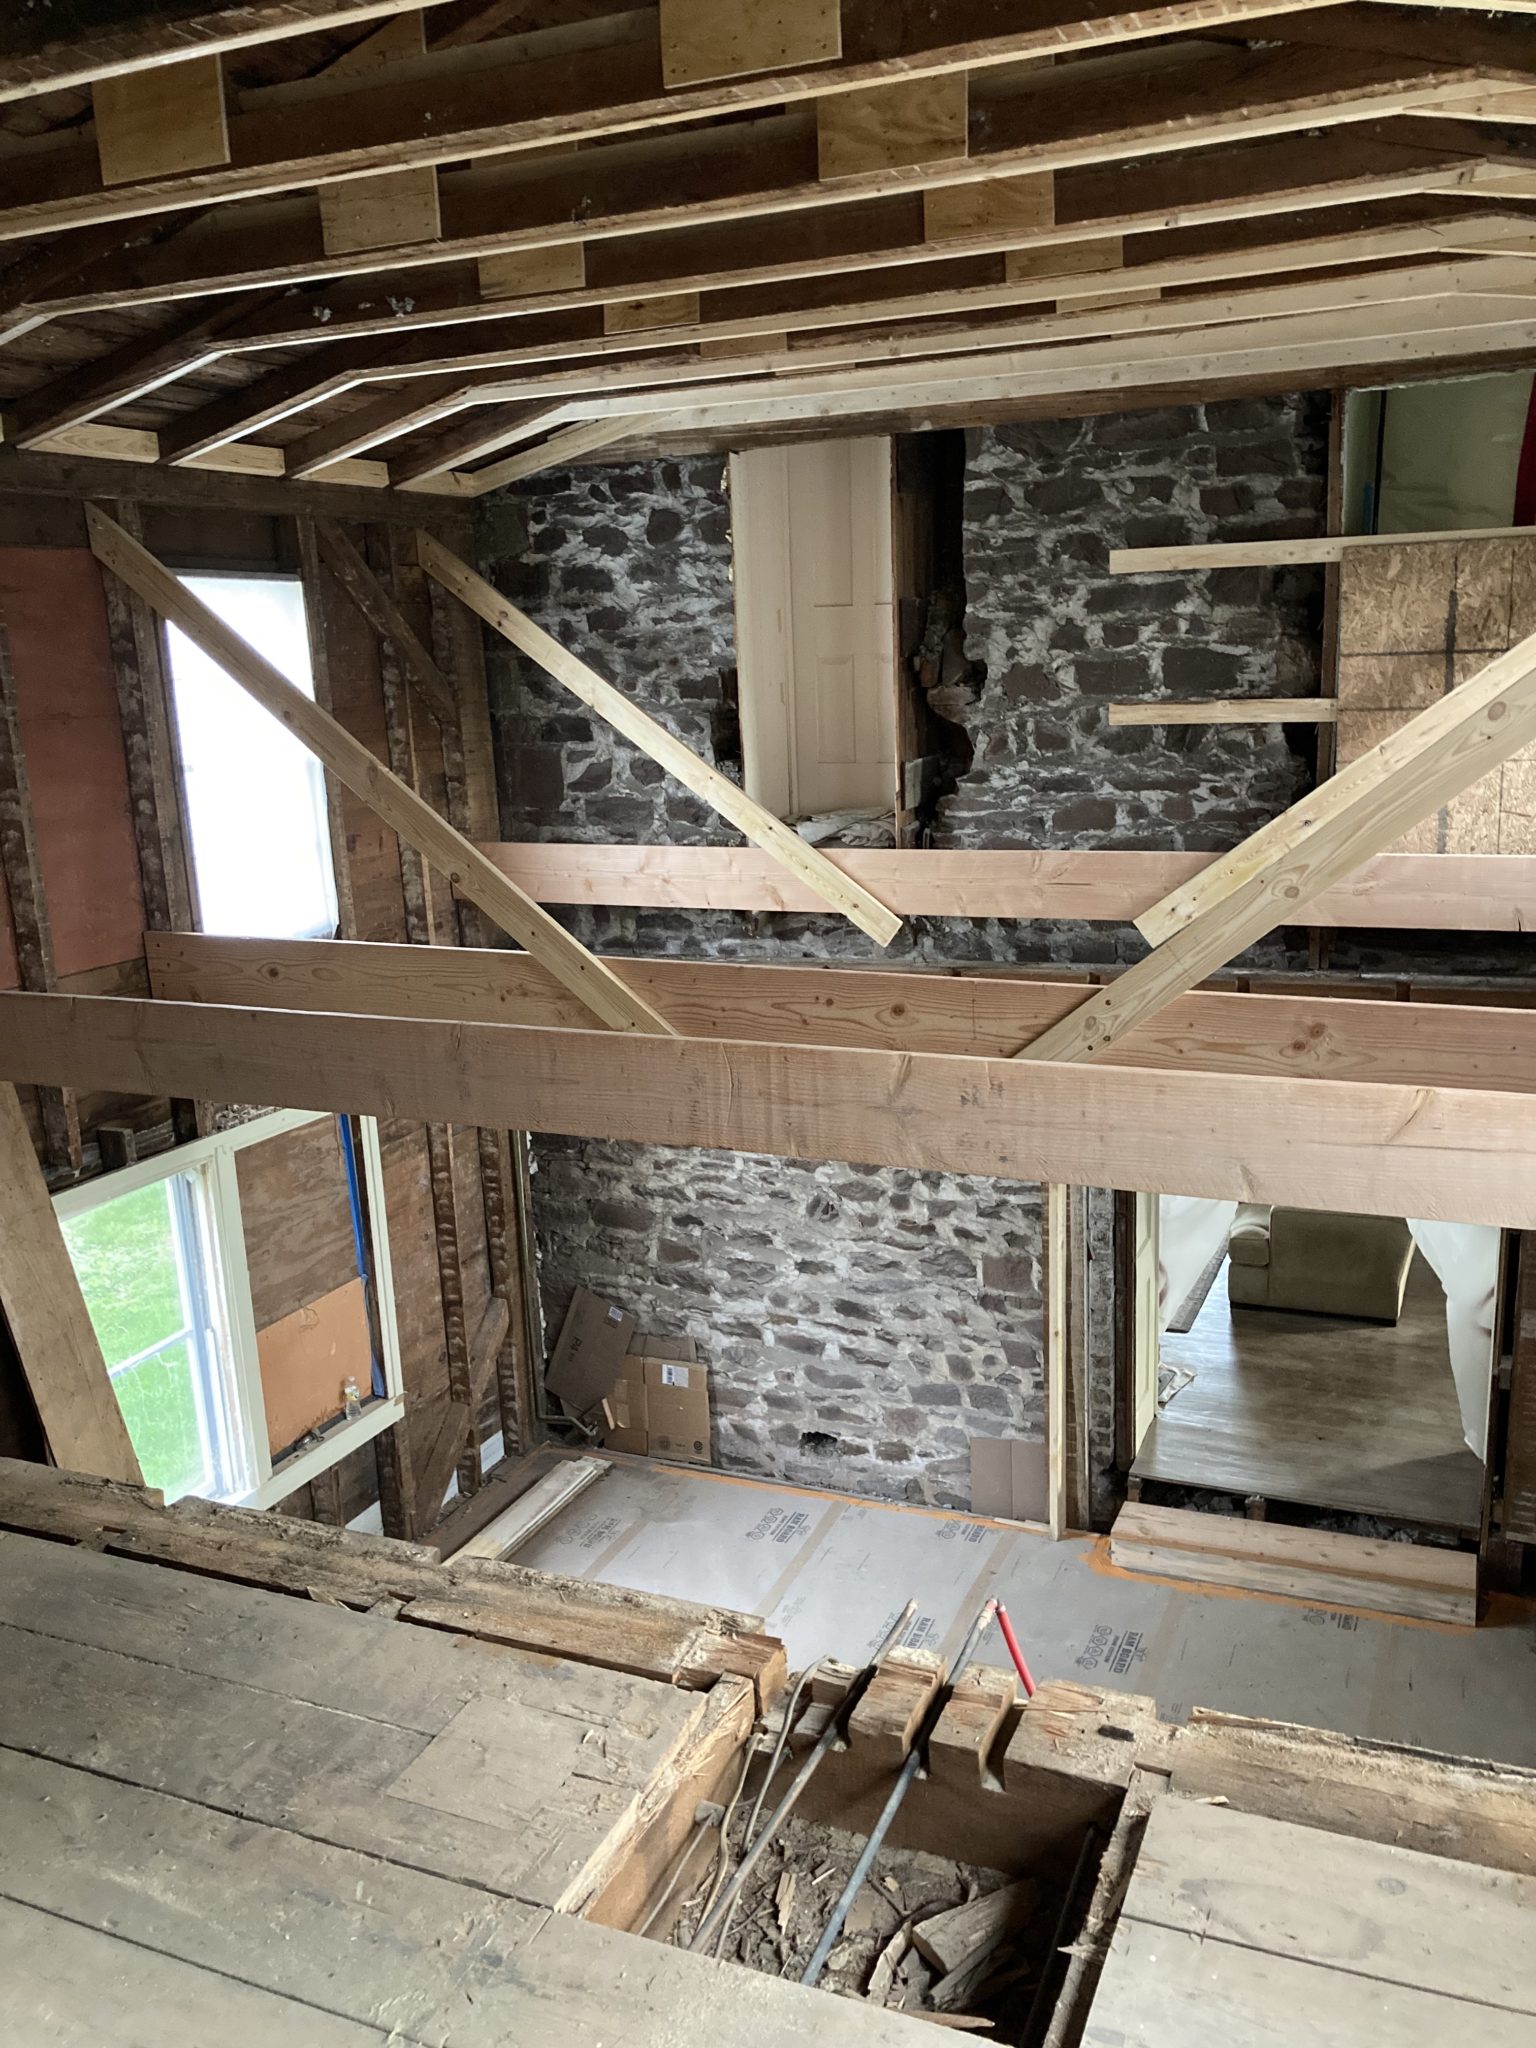
Update – temporary support wall needed as soon as dining room ceiling removed. This is what is keeping the upstairs bathroom upstairs. All the joists are bowed, but the ones under where the tub had been are also split – we learned from the engineer that cutting a 2×8 joist down to 2×6 at the end to fit it into a beam weakens it to less than the capacity of a 2×6. That’s clear from the splits still visible in these even after the temporary wall was added.
The conclusion from the engineer – these joists cannot be saved. The bow, the splits, the amount of sag, all add up to an expensive retrofit that would only modestly improve the angle of the slope of the floor upstairs. New joists are needed. The only way to put in new joists is to take out the old ones, which means taking out the upstairs floor, which means removing the upstairs walls, which means taking down the upstairs ceiling.
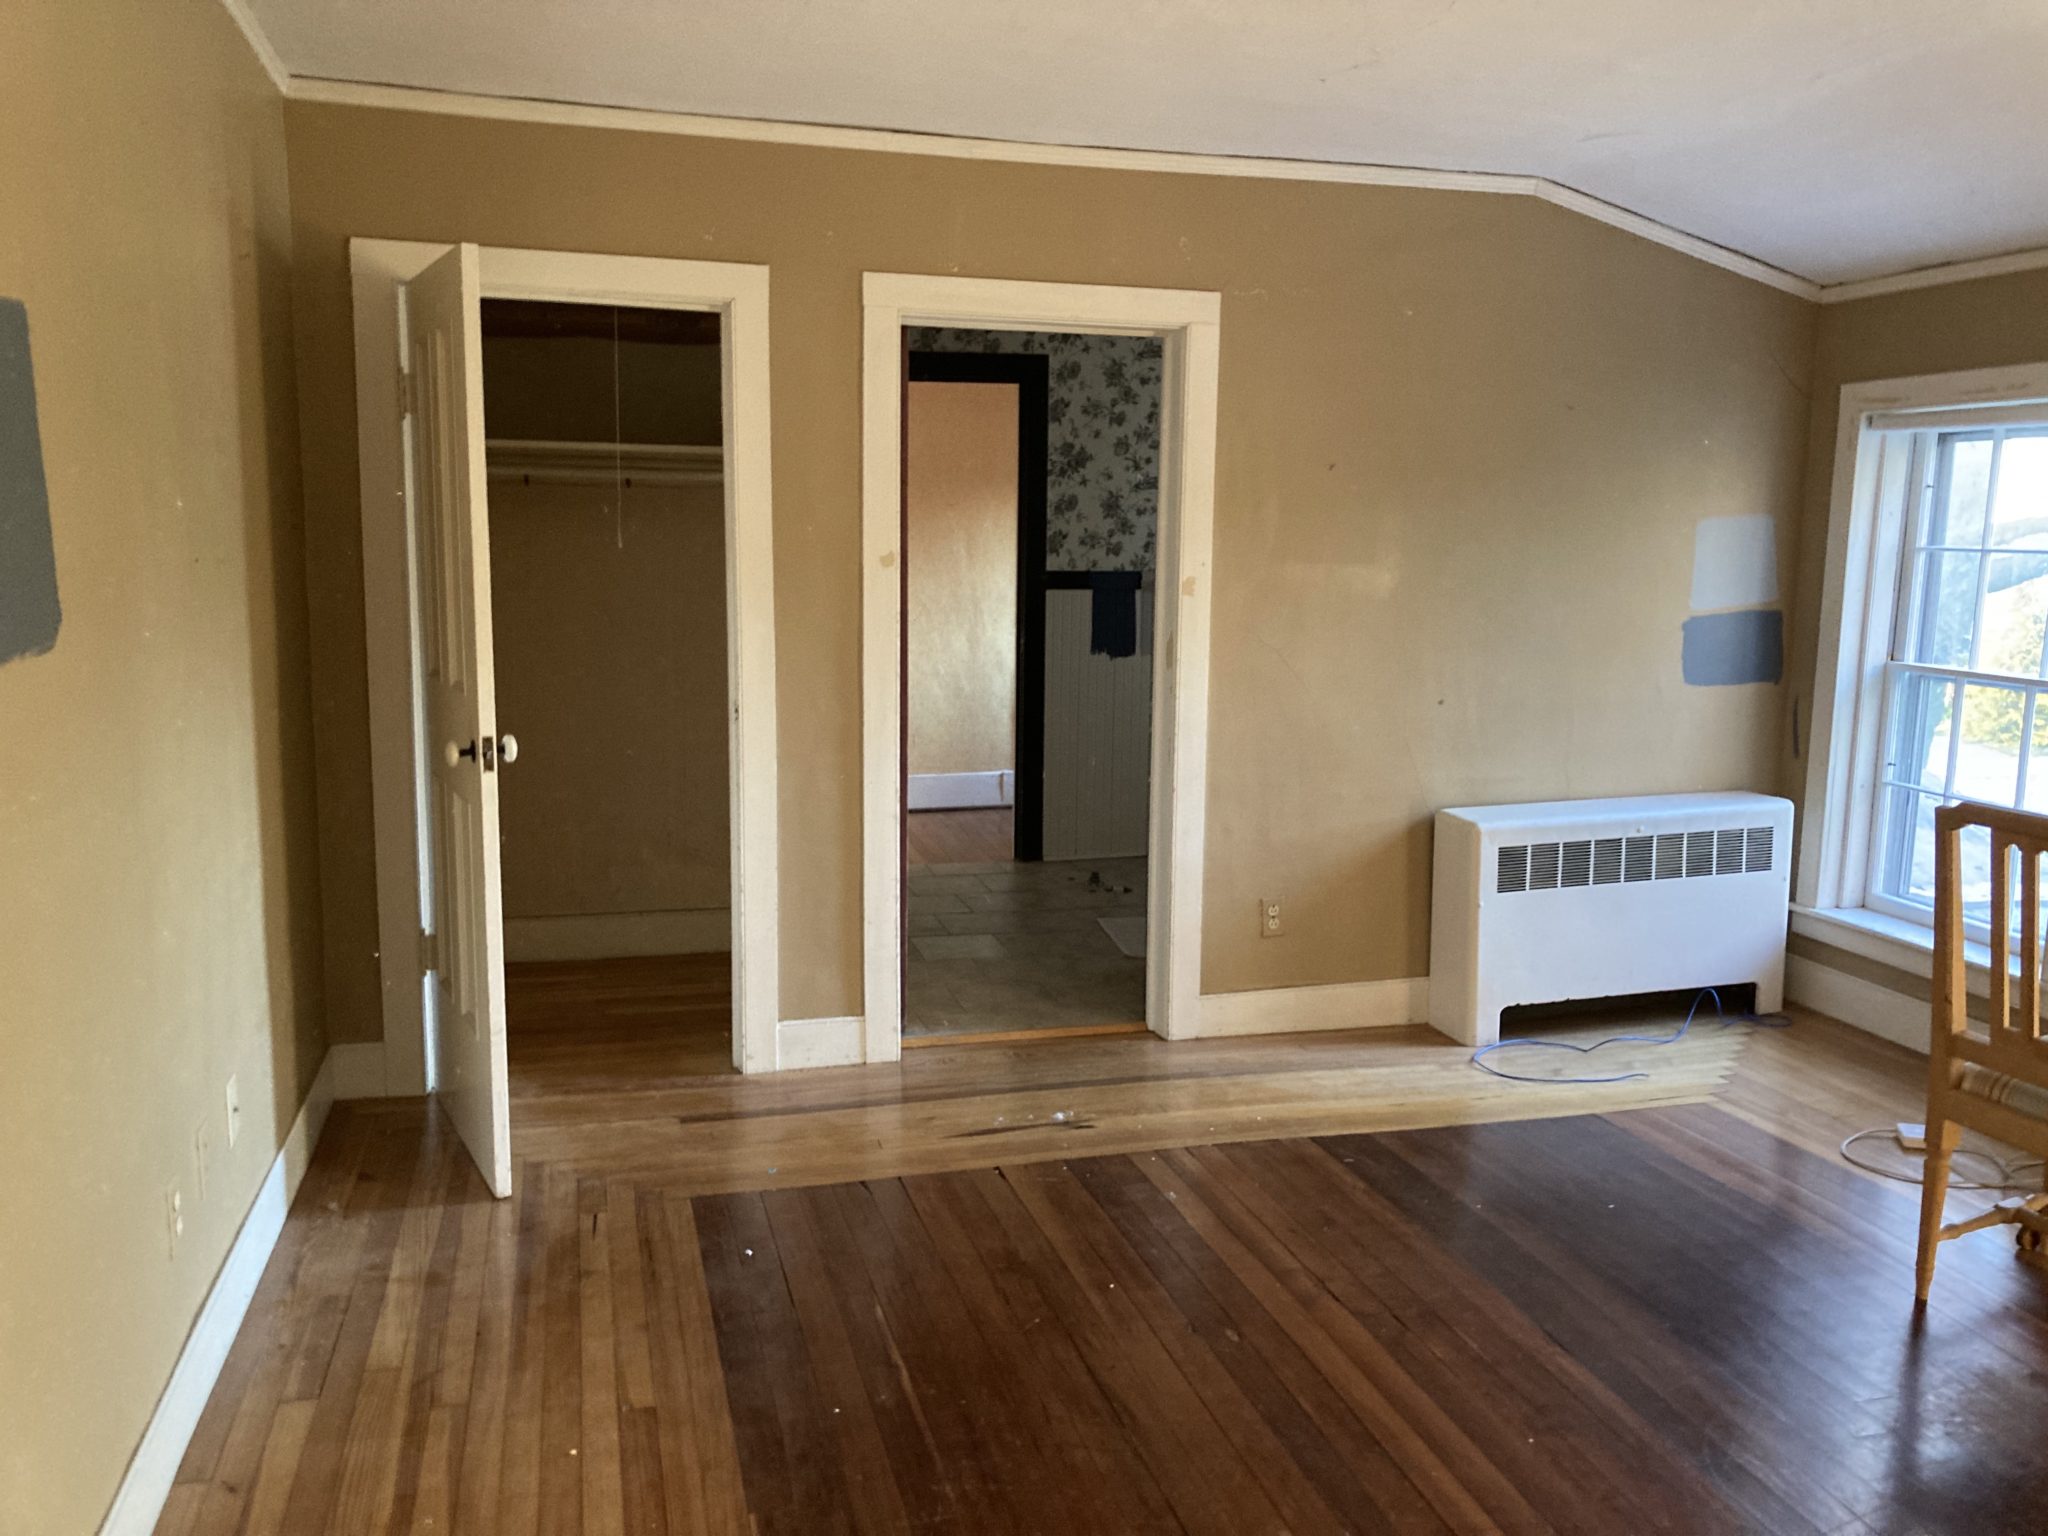
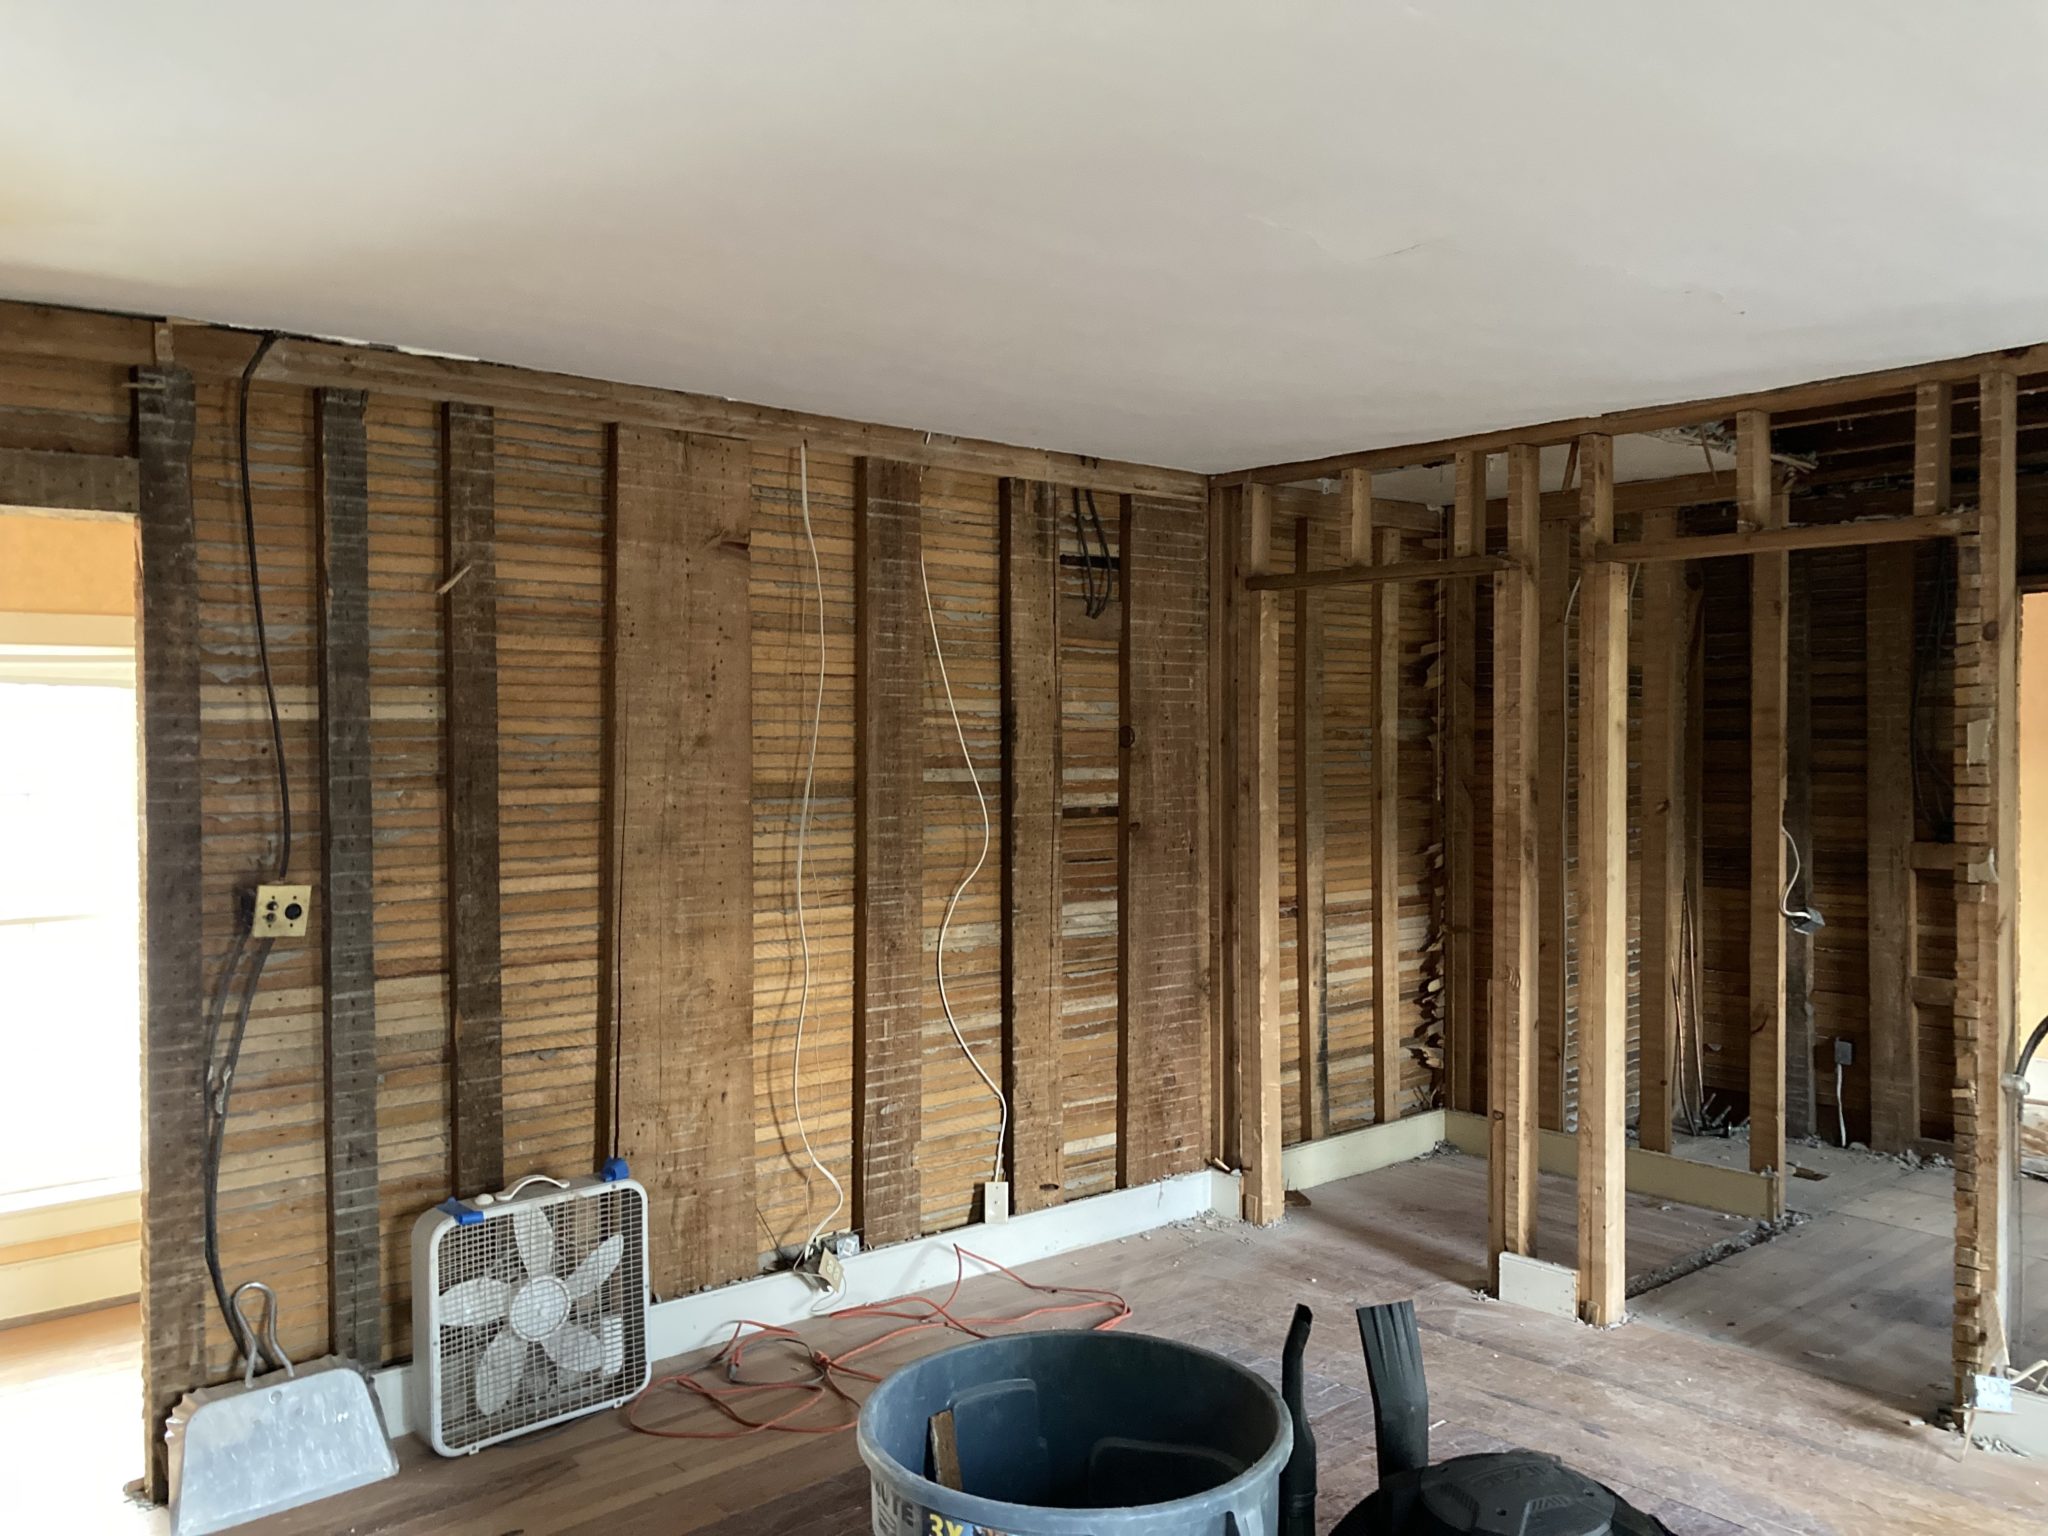
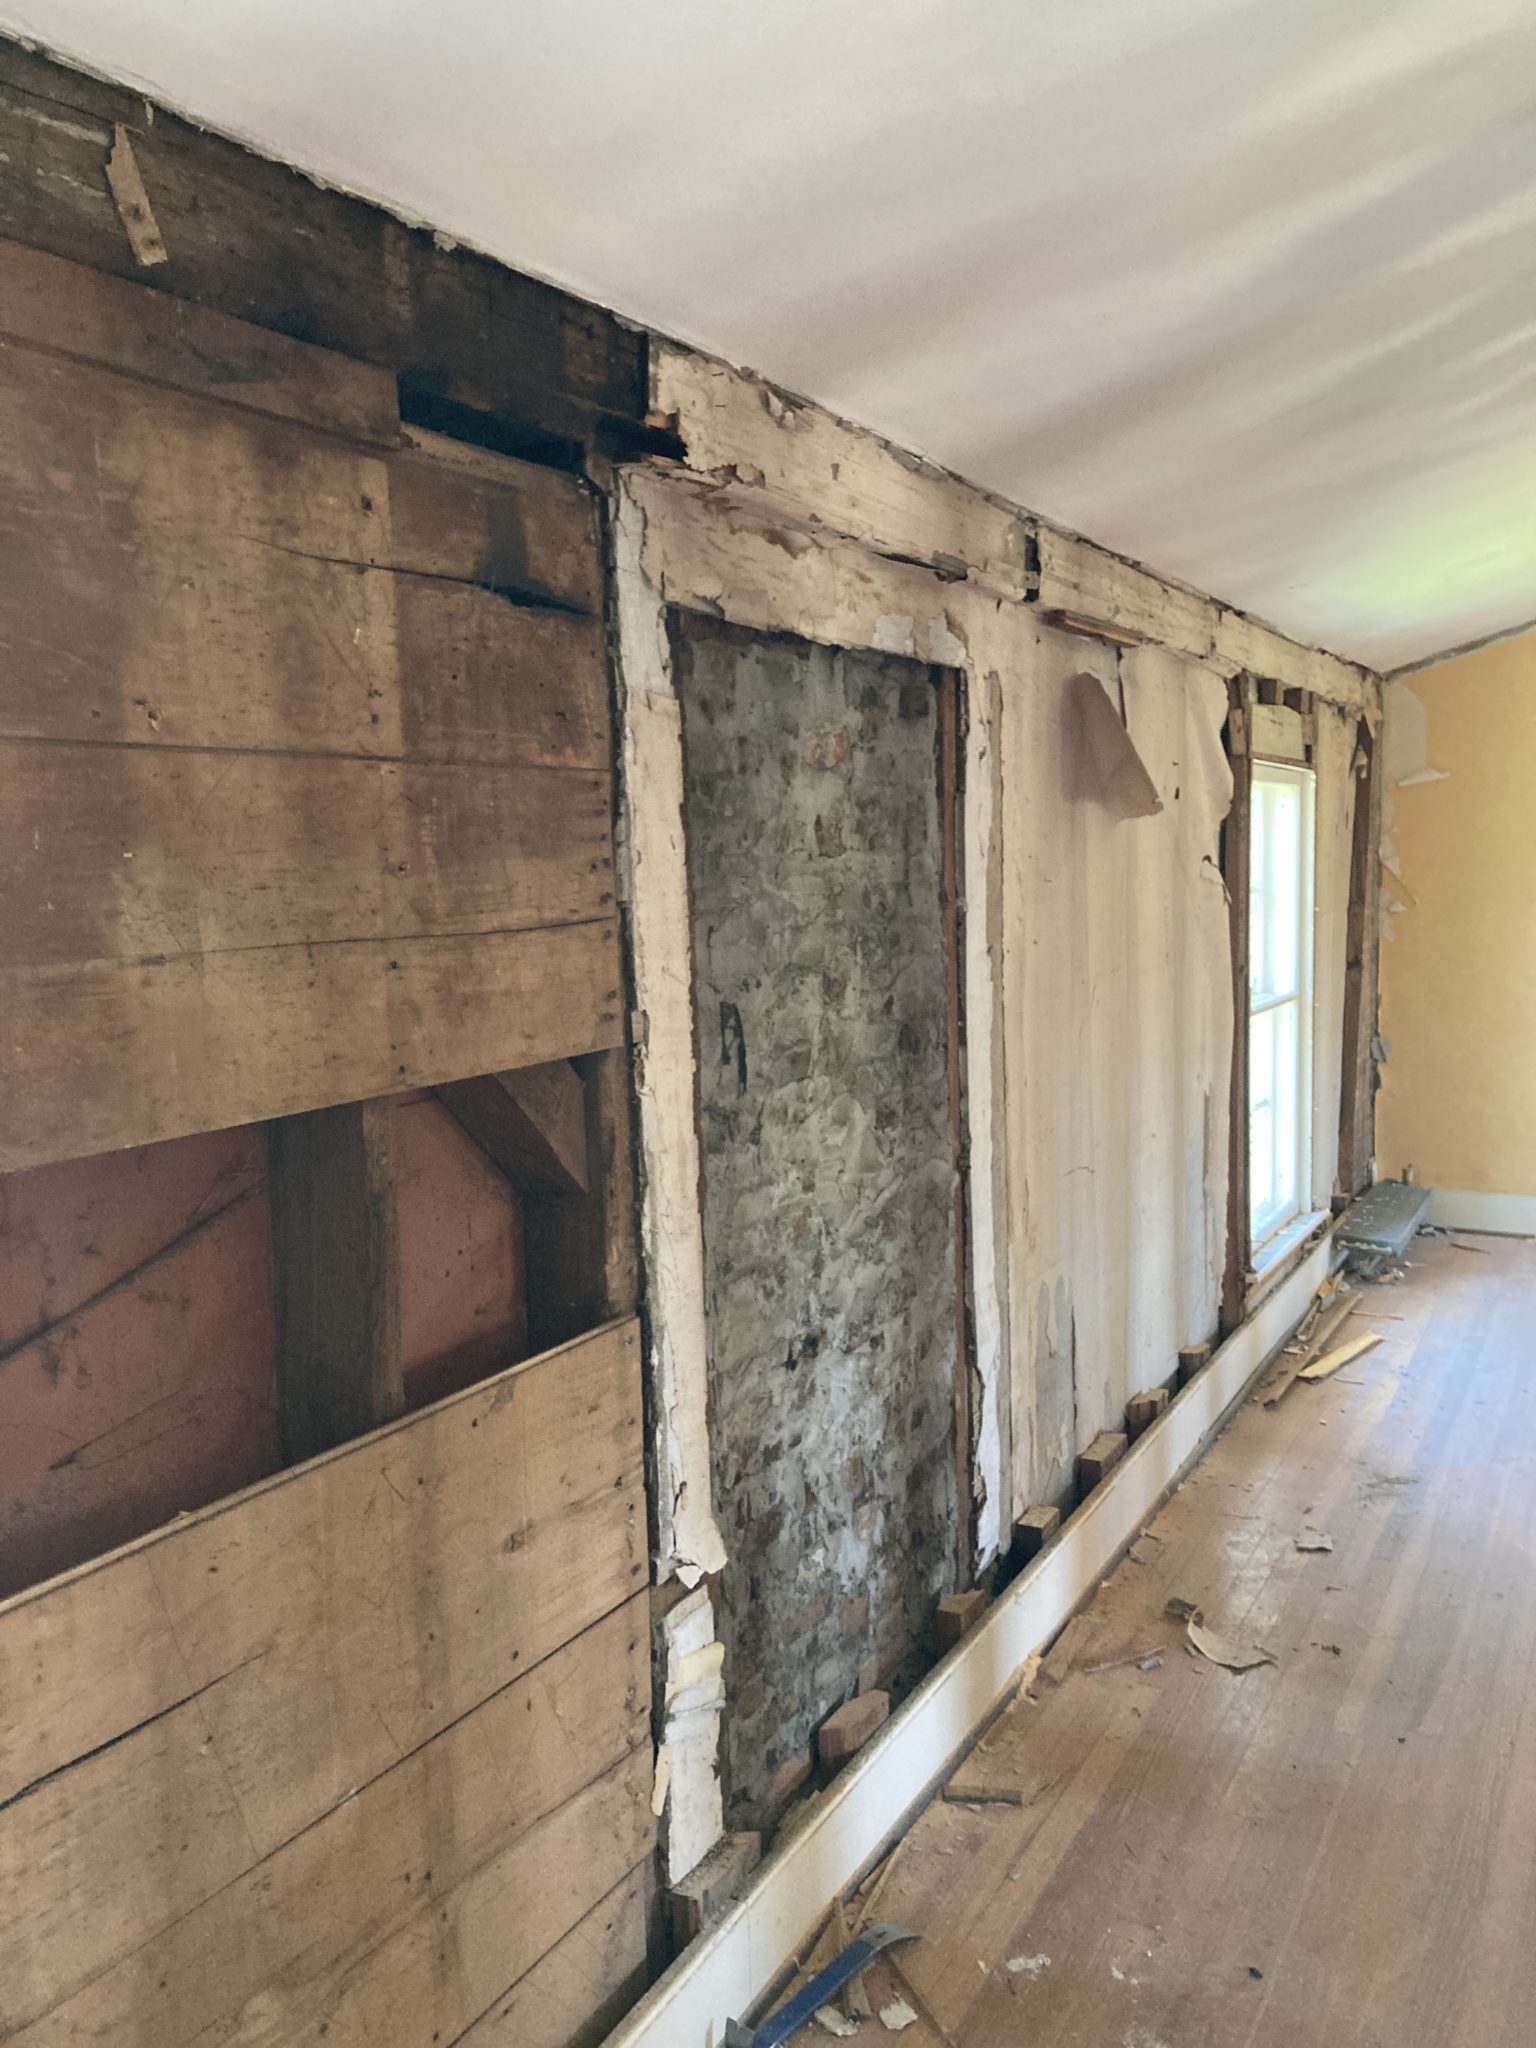
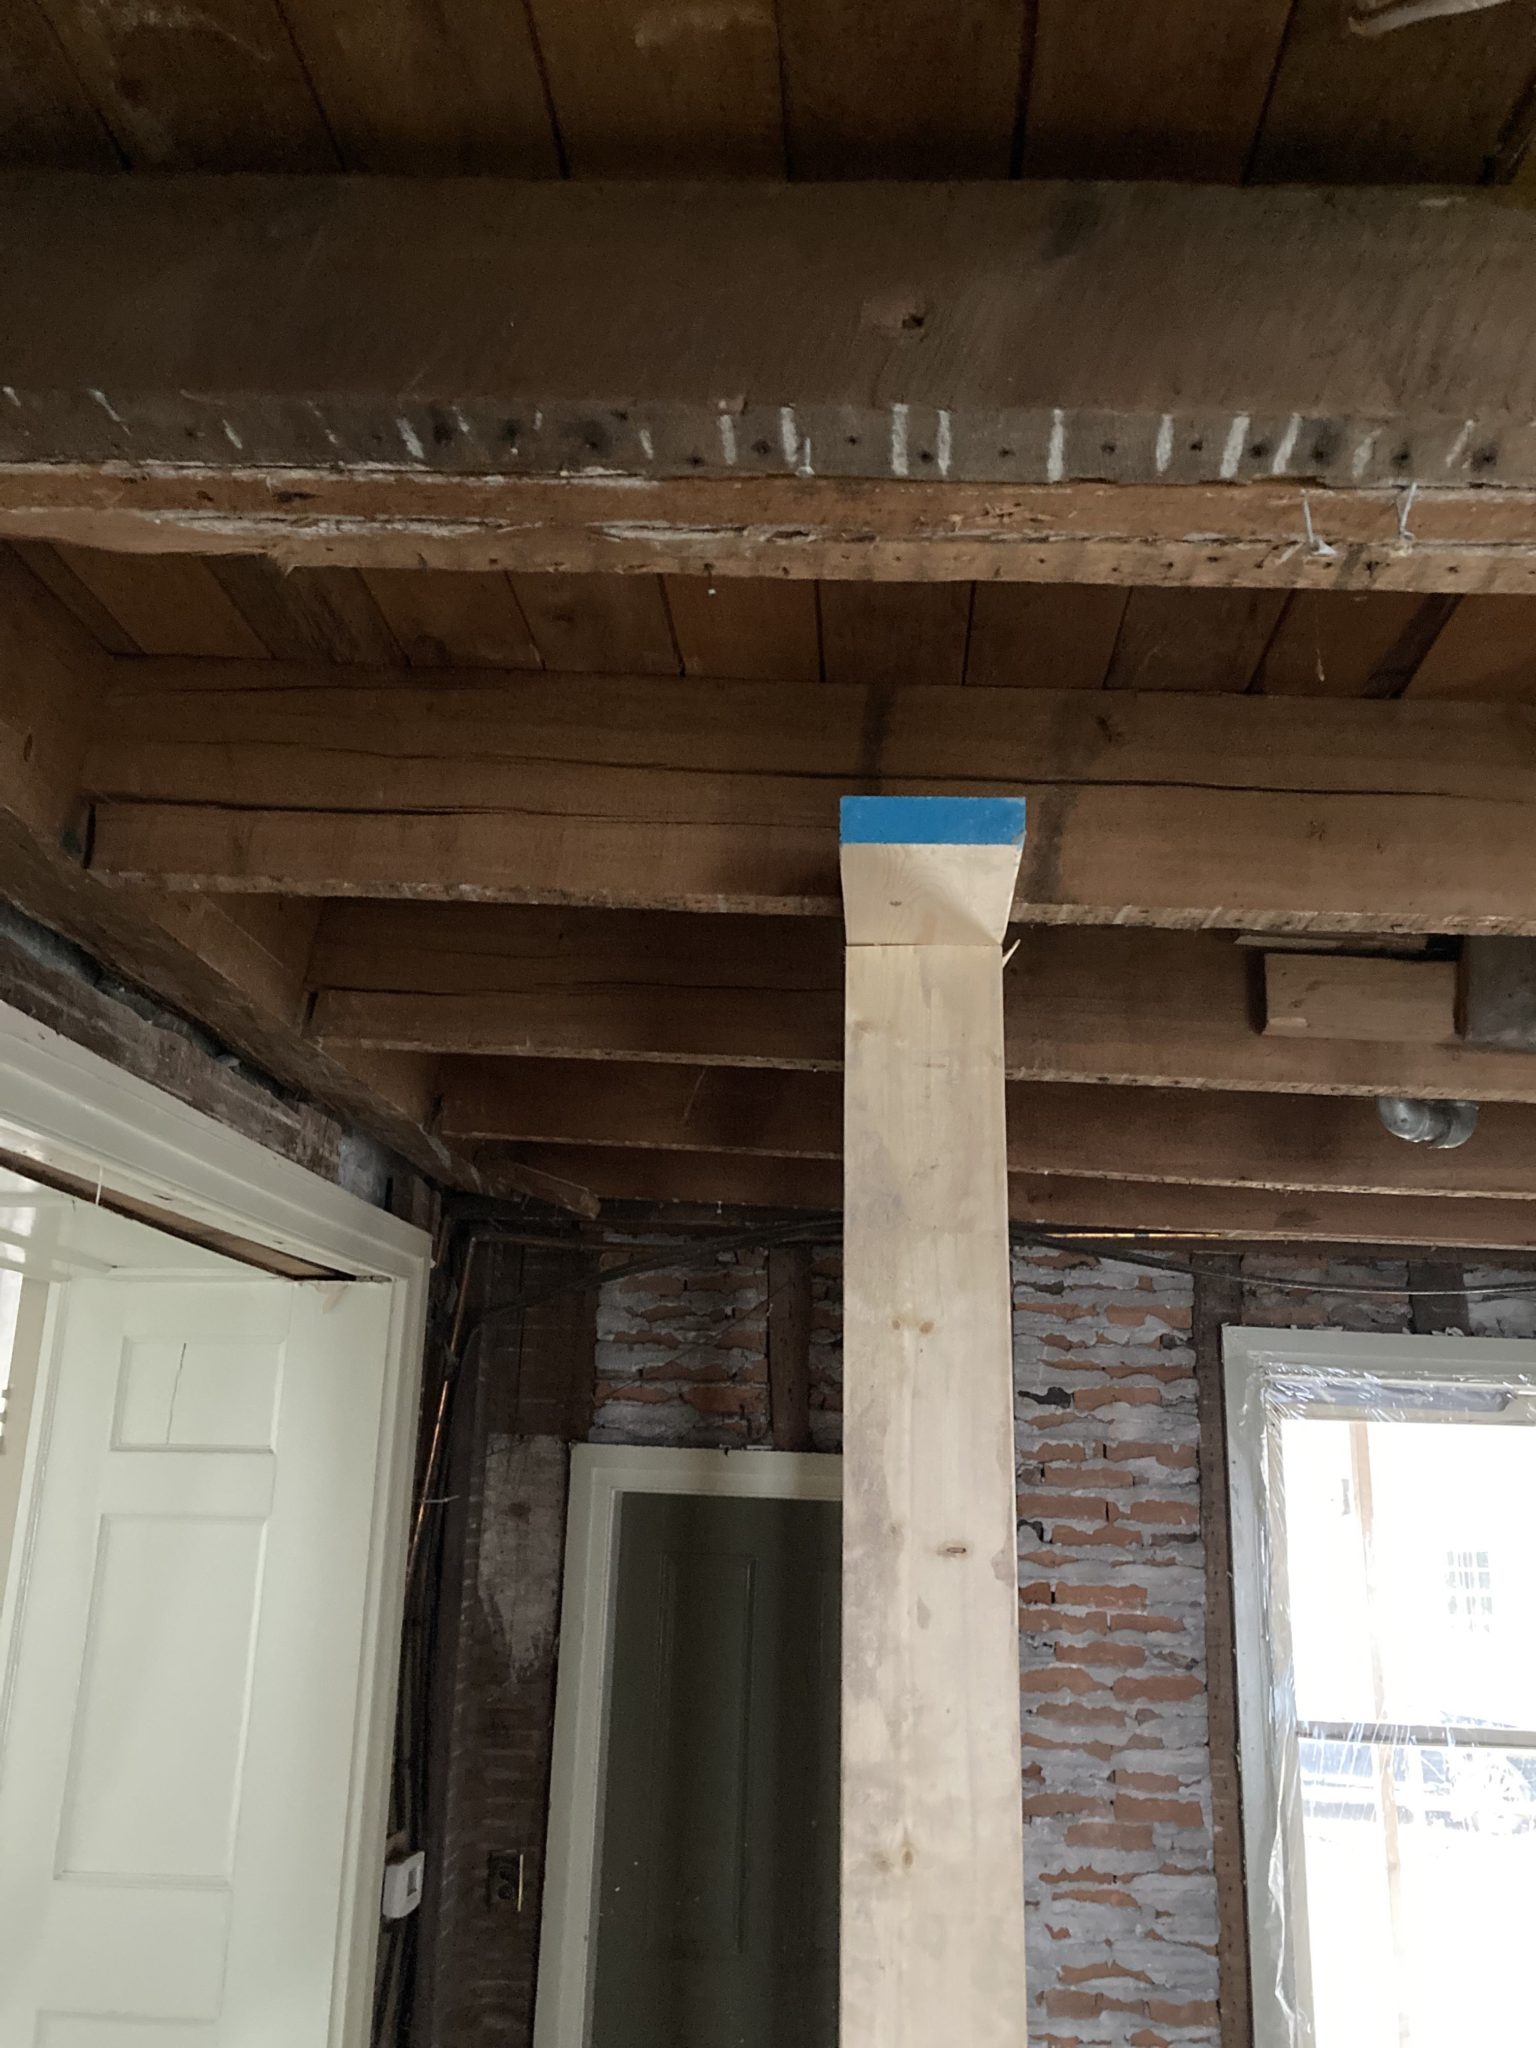
Since this is the last view of those rooms before they are rebuilt, this post is dedicated to a series of “before” and “no more” pictures. The “after” will have to come in a later post.