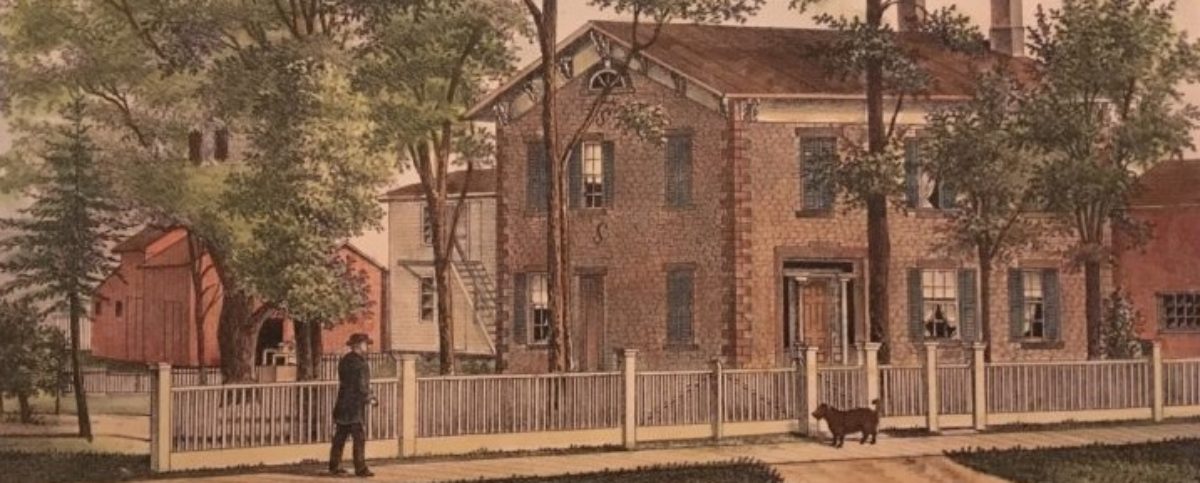
It’s time to reveal the other side of the kitchen, this time from the outside.
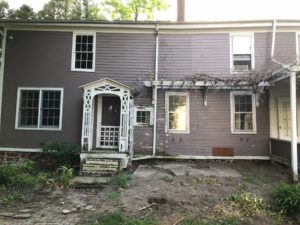
This is the part of the house visible in the old picture at the top of the blog. In that drawing it’s white and has a stairway going up to the second floor.
Today, it may seem like an optical illusion that there’s a dip in the center of the picture… but it’s not. The siding looks rotted because it is – we knew that – but the real damage was only apparent after opening it up. We brought in Randy again and after removing the trellis holding up the evil wisteria, they opened up the wall.
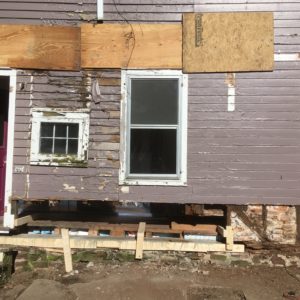
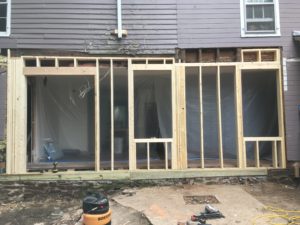
If it looks like there’s nothing holding up the wall, that’s because there isn’t. There wasn’t. The beam running the entire length of the kitchen (from the door to the porch in the first picture) was rotted away. It was essentially gone and the posts resting on it had rotted away too so the wall was literally hanging from the roof instead of being held up by the foundation.
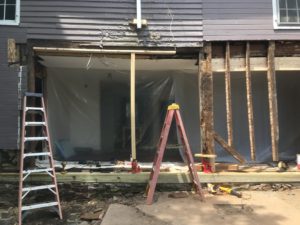
Here’s the same wall with the rotted bits cut away. Notice the jacks under the posts. They were able to add a couple inches of height to the center.
One interesting clue to the history of the house: the entire opening between posts (from the left ladder to the post just to the right of the right ladder) has a single beam across it. That’s also the part of the kitchen with a floor that’s thicker than the rest of the floor boards. What I showed in the Kitchen upgrade 1 post is to the right, on a regular floor. This suggests the left side had a large door, maybe a barn door for a carriage.
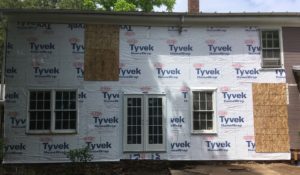
The foundation wall was reinforced and the wall rebuilt with room for the two original windows and a larger french door. As they removed the rotted siding, they ended up going all the way up to the top and over to the corner. This allowed for sheathing and house wrap to be put up before new siding.
We had new cedar cut to match the boards on the part that wasn’t rotted. The work continued all the way up to the trim at the top, so things are looking much straighter now.
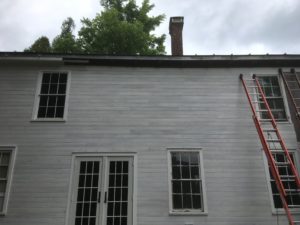
There is still another trim piece needed (had to be custom made to match) and gutters to be added, but I’m long overdue for posting this update.
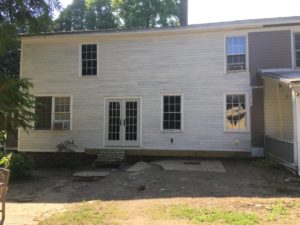
Toni primed all the siding you see here before it was put up, and if you look close you can see a footprint or two from the dogs. Paint is next!